Scrapbooking is one of the most rewarding ways to capture life’s big and small moments. Whether you’re new to scrapbooking or looking for fresh inspiration, knowing what scrapbooking supplies to use can make all the difference. I love how a thoughtfully crafted page brings travel memories to life. If you’re feeling overwhelmed by the wide world of scrapbook ideas, don’t worry—this guide will walk you through the essentials and creative possibilities, especially if you’re planning a travel scrapbook.
Why Scrapbooking Still Matters
Even in a fast-paced digital world, nothing beats the personal touch of a beautifully made scrapbook. Flipping through pages filled with photos, handwritten notes, and trinkets stirs memories in a way scrolling on a screen never can. Plus, creating a scrapbook is as much about the process as the finished project. If you’ve just returned from a memorable trip or are dreaming up ideas for a travel scrapbook, now is the time to make those memories flourish on paper.
Choosing Your Scrapbooking Supplies

Starting out with the right scrapbooking supplies lays the foundation for every great project. With so many choices, how do you select the essentials? Here are the must-haves for any scrapbooker’s toolkit:
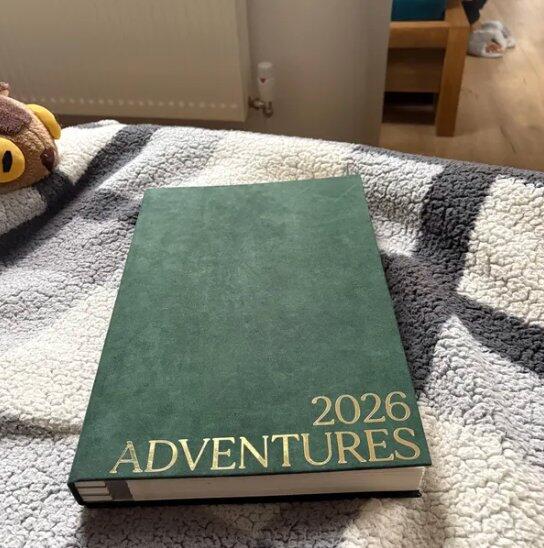
- Scrapbook albums: Pick a size that suits your project—12x12 and 8x8 are popular for travel scrapbook ideas.
- Papers: Look for acid-free, lignin-free papers for longevity, in patterns and solids that match your theme.
- Adhesives: Double-sided tape, glue dots, and photo-safe glue are perfect for layering and sticking embellishments securely.
- Scissors & trimmers: Sharp scissors and a paper trimmer allow you to create clean edges and unique shapes.
- Pens & markers: Archival-quality pens are a must for journaling and adding details.
- Stickers and die-cuts: These instantly add flair and save you from drawing everything by hand.
- Embellishments: Ribbon, washi tape, gems, buttons, and charms all add dimension and style.
- Pockets & envelopes: Great for tucking away tickets, receipts, and small souvenirs from your adventures.
No matter how simple or detailed you want your scrapbook, having quality scrapbooking supplies makes it easier and more enjoyable to create.
Scrapbook Ideas to Spark Creativity
Sometimes a blank page can be intimidating. The best way to get started is by collecting scrapbook ideas before you even open your scrapbook album. Here are a few tried-and-true sources of inspiration:
- Travel magazines and blogs: Cut out images, phrases, and colours to spark your travel scrapbook themes.
- Social media: Pinterest and Instagram are full of layouts and ideas for travel scrapbook decorations and page designs.
- Nature and locations: Collect leaves, pressed flowers, maps, or ticket stubs to bring realism to your pages.
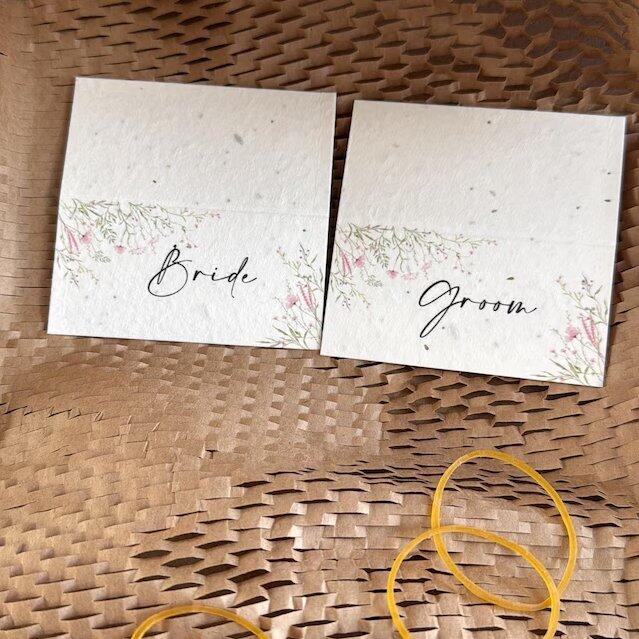
- Peach & Pear Studio products: Add a personalised touch with our unique wedding scrapbook kits and accessories for those special trips like honeymoons or family travels.
Combining imagination with your chosen scrapbooking supplies can transform even the simplest snapshots into beautiful stories.
The beauty of a travel scrapbook is its flexibility—you can go chronological, theme-based, or even by location highlights. Here’s a step-by-step approach I love:
- Sort through your photos and memorabilia. Divide them by day, event, or location.
- Gather your scrapbooking supplies and lay them out on a tidy workspace.
- Plan your page layouts with sticky notes before committing with glue.
- Choose backgrounds and accent papers that fit your theme—beach, city, countryside, or adventures abroad.
- Mix large feature photos with clusters of smaller prints, using frames or layering for depth.
- Add journaling spots for stories, quotes, and travel highlights.
- Back your memorabilia on scrapbook paper before adhering, making them pop and preventing bleed.
- Finish with details: Think stickers, stamps, die-cuts, and decorative envelopes for hidden surprises.
This process is perfect if you’re looking for organised ideas for a travel scrapbook and ensures each spread tells its own story.
Top Scrapbook Ideas for Your Next Project
If you’re feeling creative or want an extra-personal project, these scrapbook ideas can elevate your layouts:

- Interactive Elements: Create fold-out flaps and pockets for extra photos or secret messages.
- Maps and Itineraries: Trace your journey or paste in a map and draw your route with a marker.
- Travel Quotes: Use calligraphy pens to write out favourite sayings or memories from your trip.
- Envelope Pages: Store foreign currency, postcards, and pressed flowers from your travels.
- Themed Embellishments: Use washi tape, stickers, and charms that match your travel destination.
- Mixing materials: Combine fabric scraps, patterned paper, and magazine cut-outs for a layered look.
- Highlight Milestones: Dedicate a spread to a significant day—like an engagement, first trip overseas, or family reunion.
Must-Have Scrapbooking Supplies
With your scrapbook ideas in hand, the next step is choosing scrapbooking supplies that bring each concept to life. Here are my favourites for travel scrapbooks:
1. Patterned Paper Packs
Choose coordinated paper packs for easy mixing and matching. For travel scrapbook ideas, look for maps, vintage designs, nautical patterns, or bold prints in colours that remind you of your destination.
2. Sticker Sheets
Stickers come in every theme imaginable, from city skylines to palm trees or cute travel phrases. Layer them across your page edges and photo corners for accents that pop.
3. Stamps and Ink Pads
Custom stamps let you repeat motifs and add a handmade look without too much fuss. Consider date stamps to keep memories in order, or suitcase and camera designs for your travel scrapbook.
4. Washi Tape
Washi tape is a quick way to add borders, attach memorabilia, or cover binding edges. Available in endless colours and designs, it works for any travel theme.
5. Journaling Cards and Tags
Pre-cut journaling cards make it easy to jot down quick notes, quotes, or anecdotes. Tuck them beside your photos or behind envelopes for extra storytelling.
6. Acid-Free Adhesives
Always use acid-free glue and tape. This preserves your photos, prevents yellowing, and keeps your pages looking fresh for years.
7. Embellishments and Metal Charms
Metallic charms, ribbon clips, paper flowers, and shaped brads add dimension to your scrapbook. Use them for special layouts that mark important places or events.
8. Envelopes and Pockets
For those who like to save mementos, pockets are a lifesaver. Store train tickets, restaurant menus, and even pressed flowers with ease.
9. Alphabet Stickers
Create bold page headings or highlight key destinations with mix-and-match letters. Perfect for labelling cities or titling chapters in your travel scrapbook.
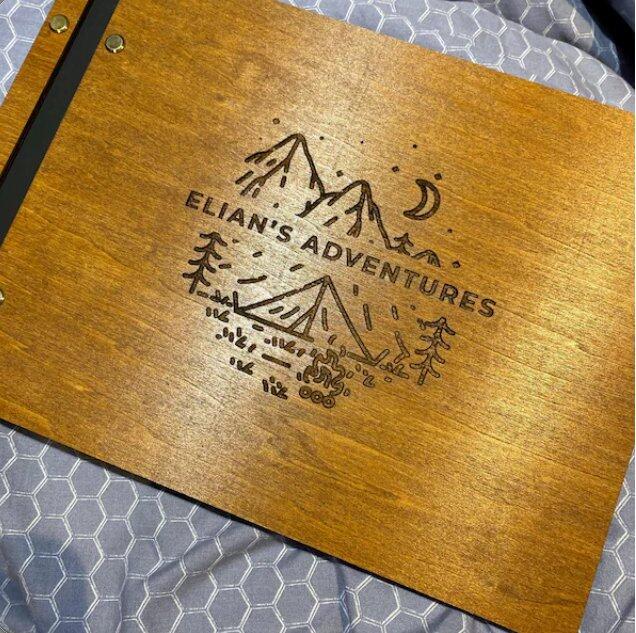
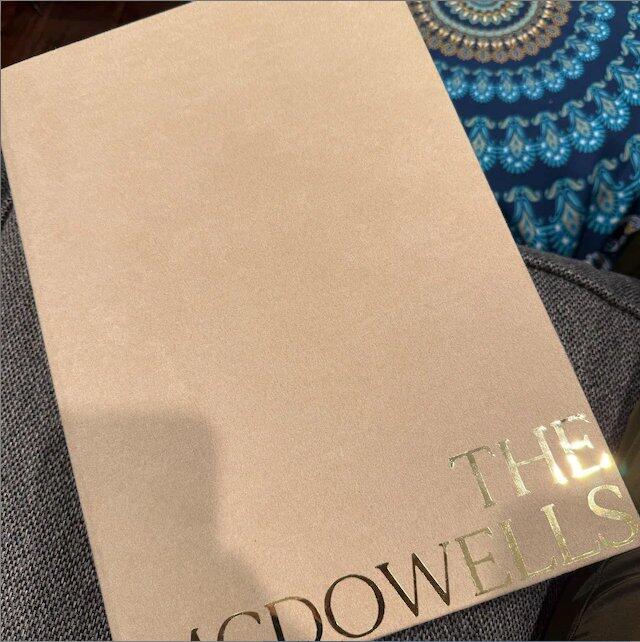
10. Personalised Accessories
Why not make your project personal? Add custom name tags, monogrammed corners, or bespoke labels.

Step-by-Step: Bringing Your Travel Scrapbook to Life
Now that you have your scrapbooking supplies and scrapbook ideas, let’s put it all together:
Step 1: Select Your Album
Choose a sturdy alum that can handle extra layers and pockets. For long journeys, consider a D-ring album with refill pages. The size matters, so think about how many photos and souvenirs you plan to include.
Step 2: Print and Sort Your Photos
Pick out your favourite photos, then group them by location, activity, or chronological order. This helps keep your layouts organised and the story easy to follow.
Step 3: Pick a Colour Scheme
A travel scrapbook pops when you stick to a colour theme. Beach trips might use blues and tans, city adventures might look great with muted tones and pops of bright colours.
Step 4: Plan Your Layouts
Before you start gluing, arrange everything on each page. Mix horizontal and vertical photos, overlap edges, and see where journaling spots and embellishments might fit best. Take photos of your draft layouts to help you keep track.
Step 5: Commit and Decorate
- Glue and tape down your background papers first
- Add your photos, leaving room for captions or tickets
- Decorate borders with washi tape or stickers
- Layer in die-cuts, stamps, or tags
- Jot down your thoughts or fun facts along the way
- Finish with personal touches like metal charms or custom monograms
It’s important to have fun and experiment. Your scrapbook is a reflection of your style and memories.
If you’re searching for unique ideas for a travel scrapbook, here’s a fresh list to get those creative juices flowing:
- Ticket Collage: Feature a page of all your travel tickets, such as planes, trains, and museums, layered with captions describing each adventure.
- “A Day in the Life” Spread: Choose one special day from your trip and dedicate a two-page spread to every detail, from breakfast to bedtime.
- Map Tracing: Glue in a printed or hand-drawn map and highlight routes travelled with colourful pens or decorative thread.
- Recipe Highlights: Print or write out favourite recipes you tried on your journey and include food photos, menus, or cut-out labels.
- Weather Watch: Use small weather stickers or hand-drawn icons to represent each day’s conditions and how they shaped your experience.
- Snapshot Grids: Print a group of mini-photos and display them in a grid pattern to capture quick moments like street scenes or daily commutes.
- Memory Pockets: Create a pocket for each destination to store something specific—a pressed flower from a park, a wristband from a festival, or the keycard of your hotel room.
All these ideas can be elevated with thoughtfully chosen scrapbooking supplies. The right gear can turn a simple photo into a story-rich page that’s a pleasure to revisit.
Adding Handmade Touches to Your Travel Scrapbook
Handmade touches are what make a travel scrapbook unique. Here’s how to make each page stand out:
- Handwritten Journaling: Write in your own words. Even imperfect handwriting adds warmth and character.
- DIY Embellishments: Use leftover ribbon, fabric scraps, and stitched details for beautiful layers and depth.
- Custom Stamps: Carve your own or purchase stamps that fit your travel theme, like bicycles, airplanes, or compasses.
- Personalised page dividers: Use washi tape and labels to separate chapters or destinations within your album.
Making Your Scrapbooking Supplies Last
Part of choosing the right scrapbooking supplies is knowing they’ll help your project last. Here are essential tips for keeping pages looking their best:
- Store albums upright on a shelf to prevent warping
- Keep albums out of direct sunlight to prevent fading
- Use acid-free and lignin-free materials for all papers, adhesives, and embellishments
- Protect finished pages with plastic sleeves or page protectors
- Write with archival-quality pens to prevent ink smears or fading over time
A little planning ensures your travel scrapbook looks wonderful in years to come—just like the day you finished it.

Today you can scrapbook digitally or by hand, each with its pros and cons. Here’s how they compare:
- Handmade: Offers tactile pleasure, allows for real-life memorabilia, and every page is a unique creation. Ideal if you love collecting bits and bobs and using traditional scrapbooking supplies.
- Digital: Quickly duplicates layouts, lets you edit mistakes, and makes sharing online a breeze. You can still print and add extra touches later if you wish.
Ultimately, there’s no right or wrong approach. Many scrapbookers enjoy combining both methods—printing digital layouts and customising with physical supplies when inspiration strikes.Scrapbooks are all about celebrating your story, and there’s something special about giving each page a custom touch. This is where personalised scrapbooking supplies shine. From monogrammed tags to themed stickers and custom labels, a few bespoke accents can truly elevate your project.
At Peach & Pear Studio, our range of personalised accessories helps bring your travel story to life with an extra spark. Whether you’re making a keepsake of your honeymoon, a girls’ getaway, or a once-in-a-lifetime family holiday, these small extras help your memories stand out.
Scrapbooking Supply Checklist for Travel Projects
Before you dive in, here’s a handy checklist of scrapbooking supplies to organise:
- Scrapbook album (your choice of size and binding)
- Patterned and solid papers (acid-free)
- Double-sided tape and glue dots
- Paper trimmer and scissors
- Fine-tipped waterproof pens and markers
- Stickers, stamps, and die-cuts
- Washi tape and ribbon
- Decorative envelopes and pockets
- Personalised labels and tags
- Plastic page protectors
Keeping these essentials on hand saves trips to the shop and helps maintain momentum as you craft each layout.
One of the biggest challenges with any creative project is finding the time and space to do it. Here are some tips to keep your scrapbooking habit alive, especially after returning from a trip:
- Set aside a dedicated space: A bin, bookshelf, or small desk for your supplies makes regular scrapbooking easy.
- Work in short sessions: 20 minutes every weekend can yield a few finished pages in a month.
- Print photos frequently: Don’t wait until your phone is bursting! Order prints after every trip.
- Gather memorabilia on the go: Keep a travel pouch for tickets, receipts, and those little mementos you’ll want to include later.
Scrapbooking shouldn’t feel like homework. With the right scrapbooking supplies, it becomes a relaxing ritual—one you’ll always appreciate.
Scrapbooking Supplies FAQ's
FAQ 1: Can I use printed digital photos in a scrapbook?
Yes, just use photo-safe paper and try a matte finish to avoid glare. Archival ink helps prevent fading.
FAQ 2: How do I keep my pages from looking cluttered?
Stick to a color palette, limit embellishments, and leave some white space. Pre-planning your layout helps too.
FAQ 3: What’s the best way to include tickets or brochures?
Use acid-free pockets or mount them on backing paper. Avoid gluing originals directly to the page.
FAQ 4: Do I need to scrapbook in order?
Nope! Go by theme, location, or favorite moments. Scrapbooking should feel fun—not like a timeline.
FAQ 5: How many photos per page is ideal?
1–4 photos per page works well. Feature one main image, then add smaller ones and some journaling.